Friday, March 23, 2012

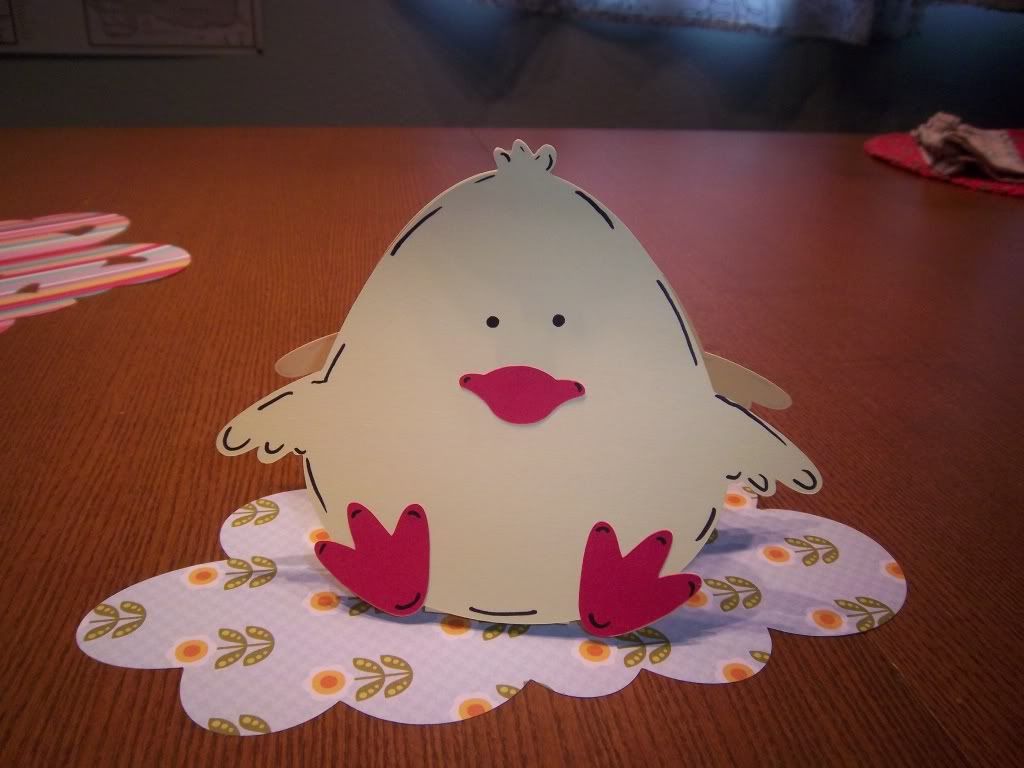
Easter Chick Table Decoration

When I sat down in my scrapbooking room to create an Easter Craft, my mind began to swirl with creation. This cute little chick emerged in a flash. Super easy to make and my kids love it. I think you will enjoy this idea too.


Ingredients;

Cricut Cartridge Simply Charmed

Cut 2 each of the following at 5 inches; Chick, Chick Layer 2.

Cut 1 - 9 inch Rainbow Layer 3

Cardstock

Black Pen

My ATG Pink Tape Gun

Instructions:
 Make sure to cut all the parts of the Chick. Before putting all parts on the chick, you must make sure to line up the body back with the front. The back needs to be facing the same direction as the front. Now place all the parts on the chick.

Cut a strip of paper (cardstock) 1 1/2 in wide by 5 in long. Then use something to make a crease at the ends about 1 1/2 in from the edge. Attach one folded end to the front of the chick at the bottom inside. See the photos below. Glue the top of the head together.

Now cut the cloud from Rainbow Layer 3.

Set your cute little chick on the cloud. Lovely little center piece.


Happy Creative Day!!

Blessings,
Carol

Thursday, March 15, 2012

March Updates

Seems like life has thrown it's wrench to the workings of our family lately. Since I last posted, my family has gotten bad chest and sinus colds that lasted two  and a half weeks then came back. My precious children are getting better as of the last couple of days. In all this I have not gotten sick. Also, Girl Scout season has been full swing. I was the cookie mom for our troop. Talk about a ton of cookies that were at my home. We all are glad the cookie season has just wrapped up at of last weekend. My hope is to have something fun posted for Easter which is just right around the corner. Thanks for following and sorry for the large gap in postings. Enjoy the projects that have been posted.

Blessings,
Carol

Friday, February 3, 2012

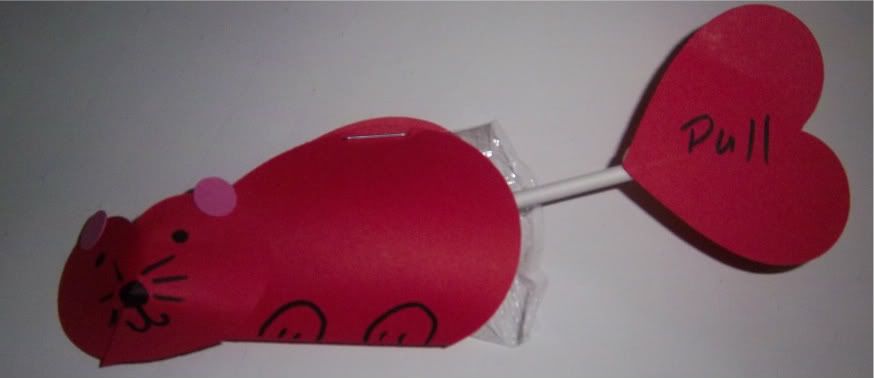
Valentines Day Mouse

Super cute Valentine that my kids are giving away to their friends My daughter found this idea in one of our craft books. Accept it shows you need to cut everything out by hand. Not so with our Cricut Expression Machines. I loved the fact that making so many is a breeze. Using the auto fill button makes it all go quite fast. Enjoy this great project. More to come.


Ingredients;

Cricut Cartridge Simply Charmed

Solid Cardstock

Black Marker

Stapler

Glue Tape

Lollipops

Instructions:
Cut 3 1/4 in Hearts Layer (Larger heart) Hearts 1 3/4 for mouse face and pull tab
Small circles are cut out of Tie, Layer 3.

For the body just use the larger heart and fold length wise. The mouse head is made by cutting the bottom tip of the heart to about half way up the middle. Overlap the ends till it has an oval shape and nose is pointy. I used my ATG tape runner to adhere together. Add details to face then adhere to body. Make sure you used one staple at the top of the big heart so the lollipop stays inside it. For the pull heart on the stick, use your tape runner on the back of the heart, then adhere to stick. Super fun and easy.


Blessings,
Carol

February Already???

January completly flew be a little too quickly. Posting a wonderful and super cute Valentines Day project today. Just have to download the photos. Hoping everyone is doing well and creating super fun projects of your own. See ya all later today.

Blessings,
Carol

Thursday, January 12, 2012

Happy New Year

Well good morning everyone. I hope your day is a great one. Very busy in our household. Just a recap of what has been going on in our family.

Christmas was wonderful. New Year's was super too. Helping serve others in our church. Back to homeschooling. Getting ready for Girl Scout Cookie selling season. Helping friends unpack at their new home. Witnessing God doing miracles in a precious family who is adopting 3 little girls from the foster care system, all the while saving the lives of the family while in Montana. The family hit black ice in their van and started to fall down a 50 foot embankment. They cried out to Jesus and He saved their lives. Our God is amazing!!

Valentines Day is coming up next month and I have fun projects on that theme coming soon. Stop back by and check them out in the next couple of days.


Blessings,
Carol

Saturday, December 24, 2011

Merry Christmas Everyone!!

May the Lord bless your Christmas. Remember Jesus is The Reason For The Season. Thank you for following my blog. I truly appreciate each and everyone who does. Enjoy the day with your family and friends.

Blessings,
Carol

John 3:16

Friday, December 16, 2011

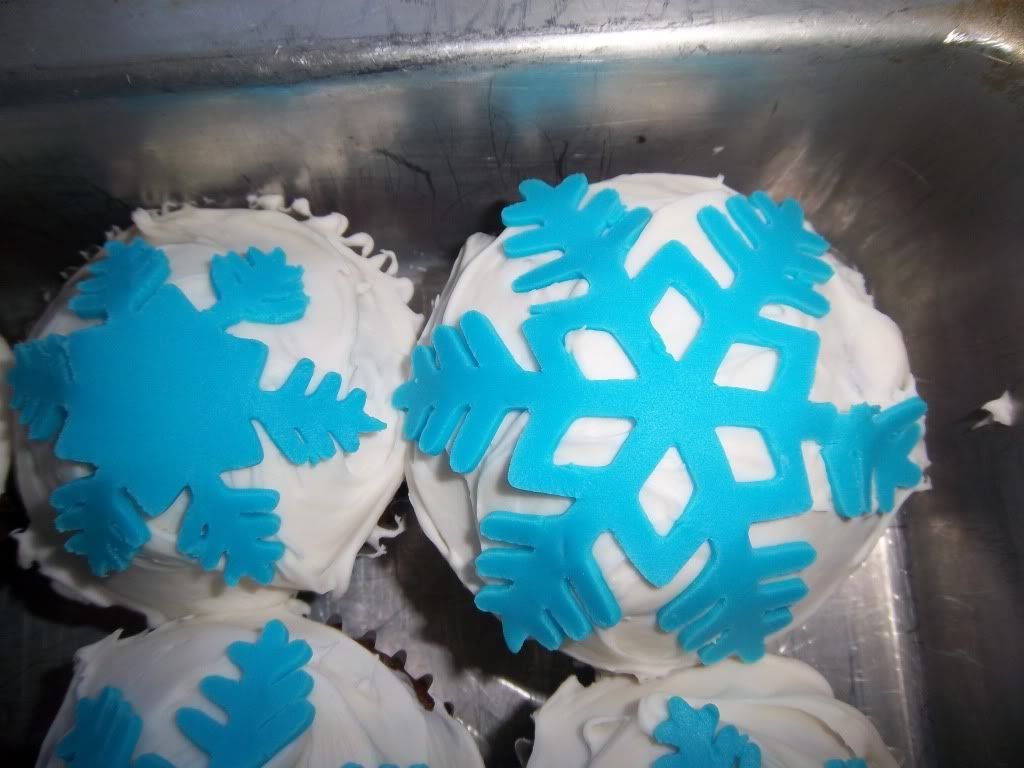
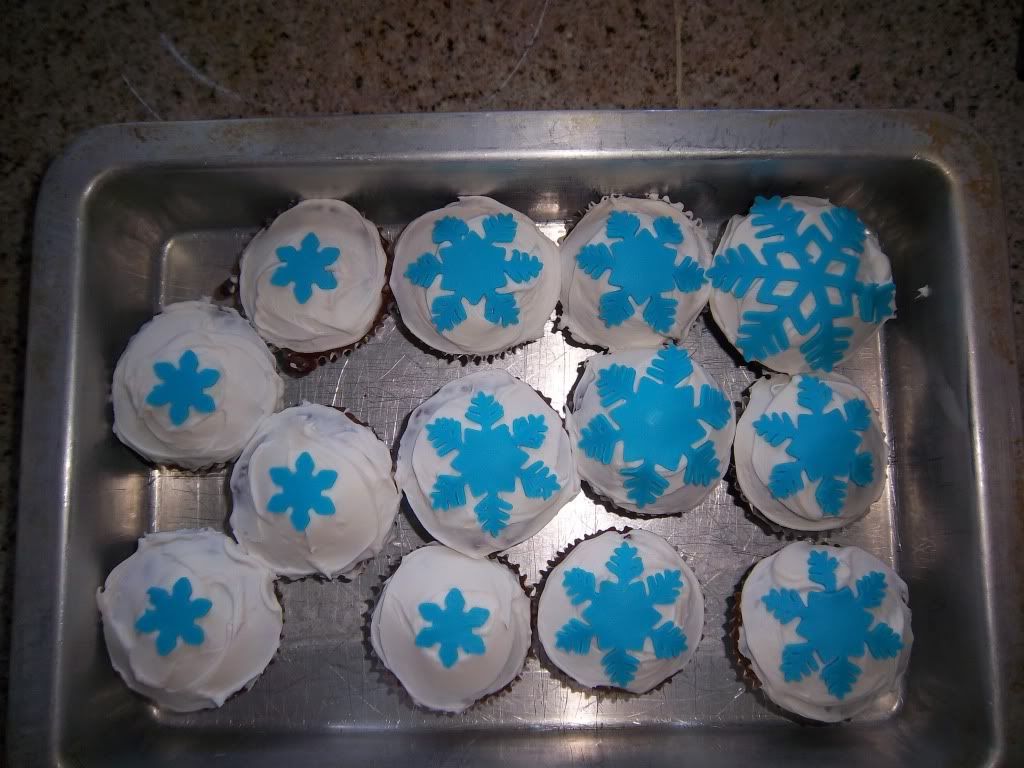
Birthday Snowflake Cupcakes

I made these the other day for my sons 9th birthday. These were cut with my brand new Cricut Cake Machine. Because I watched several videos on youtube, cutting out the fondant was a breeze. Placing a small chunk of the fondant in the microwave for 6 seconds make it super easy to knead. Just make sure when you roll your fondant out, do it very thin and then place on a flat surface in the freezer for at 30 min. This really helps it cut well. Also, my machine was only $49.95 plus shipping. We saved over $400.00!!! Looking forward to using it a whole lot more.

I entered this project over at My Sheri Crafts Blog, just click to go there.

I hope you enjoy this super fun project!!

Ingredients;

Cricut Cake Machine (Large One or Small One)

Cricut Cake Basics Cartridge

Cut 1in to 2 in snowflakes of your choice.

Fondant (I purchased the Wilton premade white fondant, then used my Wilton icing color to dye it) Knead the color into the fondant using latex gloves. This kept my hands from turning a pretty shade of blue.