Well good morning everyone. I hope your day is a great one. Very busy in our household. Just a recap of what has been going on in our family.
Christmas was wonderful. New Year's was super too. Helping serve others in our church. Back to homeschooling. Getting ready for Girl Scout Cookie selling season. Helping friends unpack at their new home. Witnessing God doing miracles in a precious family who is adopting 3 little girls from the foster care system, all the while saving the lives of the family while in Montana. The family hit black ice in their van and started to fall down a 50 foot embankment. They cried out to Jesus and He saved their lives. Our God is amazing!!
Valentines Day is coming up next month and I have fun projects on that theme coming soon. Stop back by and check them out in the next couple of days.
Blessings,
Carol

Thursday, January 12, 2012


Saturday, December 24, 2011
Merry Christmas Everyone!!
May the Lord bless your Christmas. Remember Jesus is The Reason For The Season. Thank you for following my blog. I truly appreciate each and everyone who does. Enjoy the day with your family and friends.
Blessings,
Carol
John 3:16
Blessings,
Carol
John 3:16
Friday, December 16, 2011
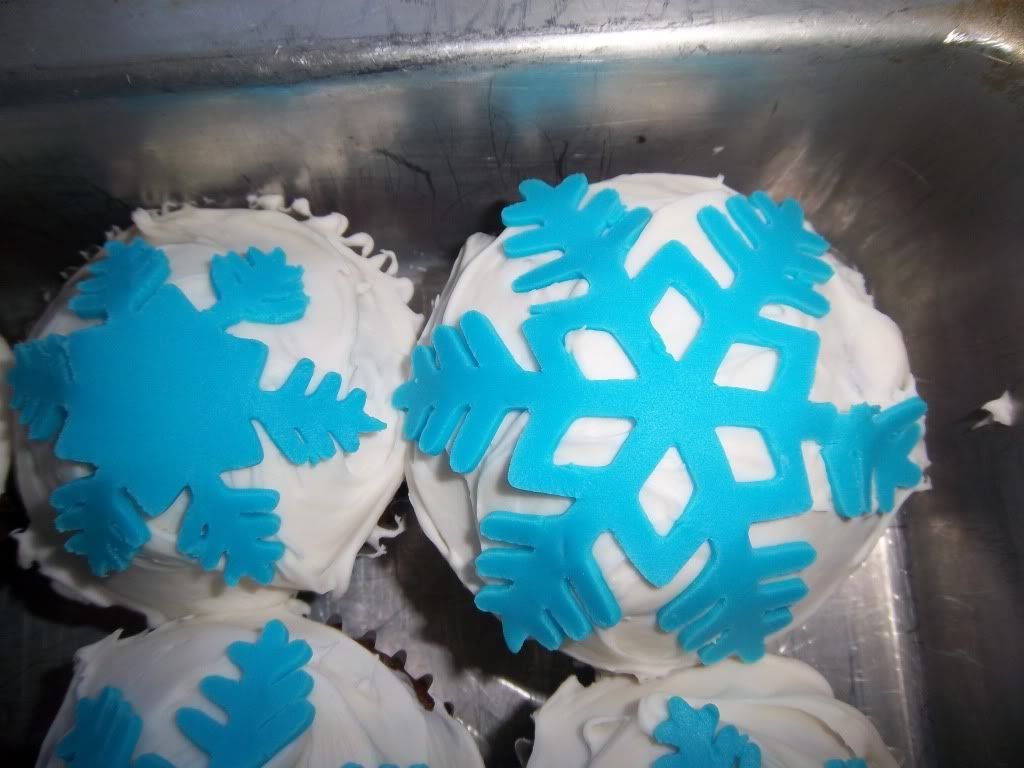
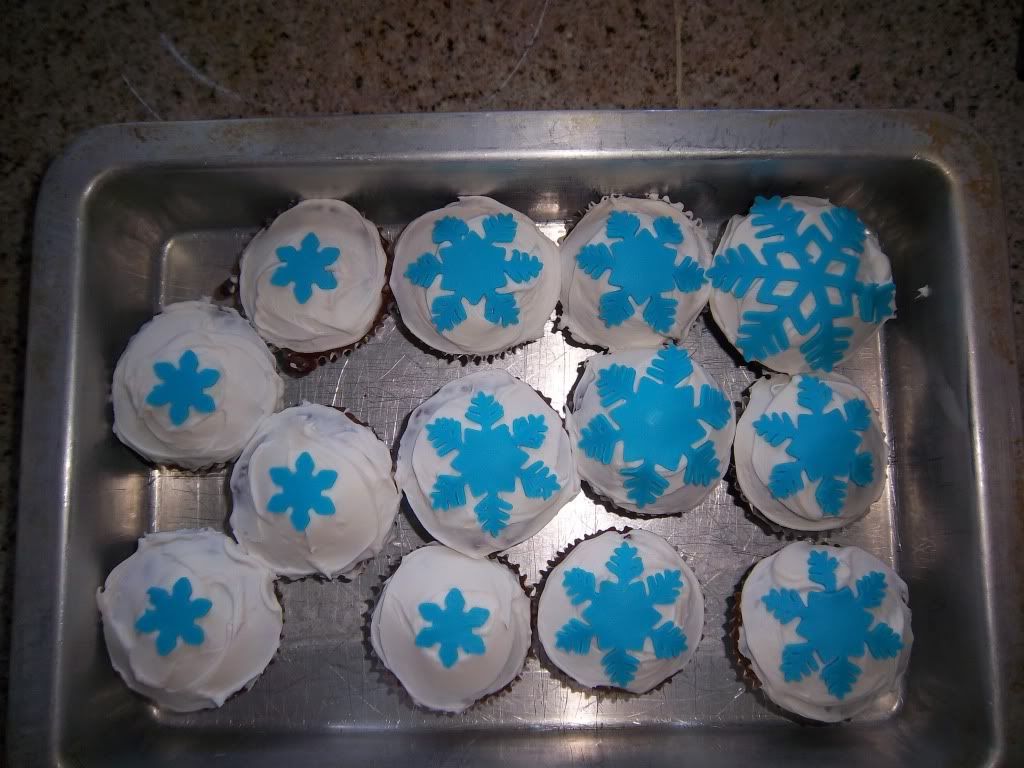
Birthday Snowflake Cupcakes
I made these the other day for my sons 9th birthday. These were cut with my brand new Cricut Cake Machine. Because I watched several videos on youtube, cutting out the fondant was a breeze. Placing a small chunk of the fondant in the microwave for 6 seconds make it super easy to knead. Just make sure when you roll your fondant out, do it very thin and then place on a flat surface in the freezer for at 30 min. This really helps it cut well. Also, my machine was only $49.95 plus shipping. We saved over $400.00!!! Looking forward to using it a whole lot more.
I entered this project over at My Sheri Crafts Blog, just click to go there.
I hope you enjoy this super fun project!!
Ingredients;
Cricut Cake Machine (Large One or Small One)
Cricut Cake Basics Cartridge
Cut 1in to 2 in snowflakes of your choice.
Fondant (I purchased the Wilton premade white fondant, then used my Wilton icing color to dye it) Knead the color into the fondant using latex gloves. This kept my hands from turning a pretty shade of blue.


I entered this project over at My Sheri Crafts Blog, just click to go there.
I hope you enjoy this super fun project!!
Ingredients;
Cricut Cake Machine (Large One or Small One)
Cricut Cake Basics Cartridge
Cut 1in to 2 in snowflakes of your choice.
Fondant (I purchased the Wilton premade white fondant, then used my Wilton icing color to dye it) Knead the color into the fondant using latex gloves. This kept my hands from turning a pretty shade of blue.
Sunday, December 11, 2011
Christmas Stocking Stuffer Bags
Here is my newest video with a super fun project. I wanted to spice up my childrens stocking stuffer wrappers. Have fun with this. You could use many other cartridges in your collection.
Ingredients;
Winter Wonderland Cricut Cartridge
1 - Squirrel, Shift, Layers and Layers shift, Size 3 1/4 inch for all pieces.
Cut a 2 1/2 inch strip of printed paper, then measure what the width of the bag is.
Cut a 2 inch strip of solid cardstock, then measure what the width of the bag is.
Hole puncher or other punching tool for the two holes in the bag.
Decorative scissors for trimming the top of the bag with.
Ingredients;
Winter Wonderland Cricut Cartridge
1 - Squirrel, Shift, Layers and Layers shift, Size 3 1/4 inch for all pieces.
Cut a 2 1/2 inch strip of printed paper, then measure what the width of the bag is.
Cut a 2 inch strip of solid cardstock, then measure what the width of the bag is.
Hole puncher or other punching tool for the two holes in the bag.
Decorative scissors for trimming the top of the bag with.
Monday, November 21, 2011
Happy Thanksgiving Everyone!!
I wanted to wish everyone a very Happy Thanksgiving. We are very busy in our household this week and next week. Our family is blessed to visit Disneyland Resort for 7 whole days starting next week. So projects will be posted December 5th. Keep an eye out for the videos I am filming this week. Tons of fun stuff ahead. Also, a huge "Thank You" for those who are new followers and those who have been following for quite some time. I appreciate you all so very much. May the Lord bless your Thanksgiving holiday.
Blessings,
Carol
Blessings,
Carol
Wednesday, November 16, 2011
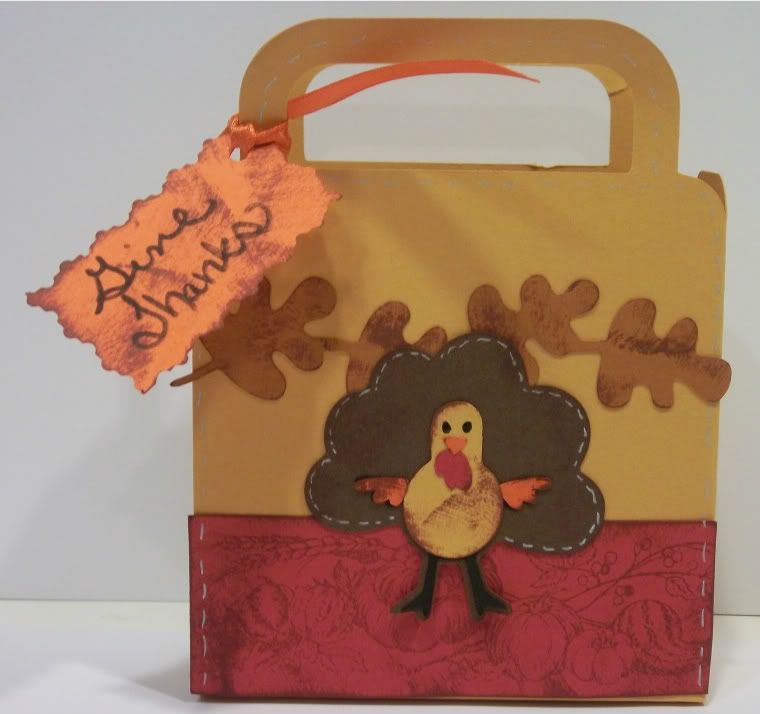
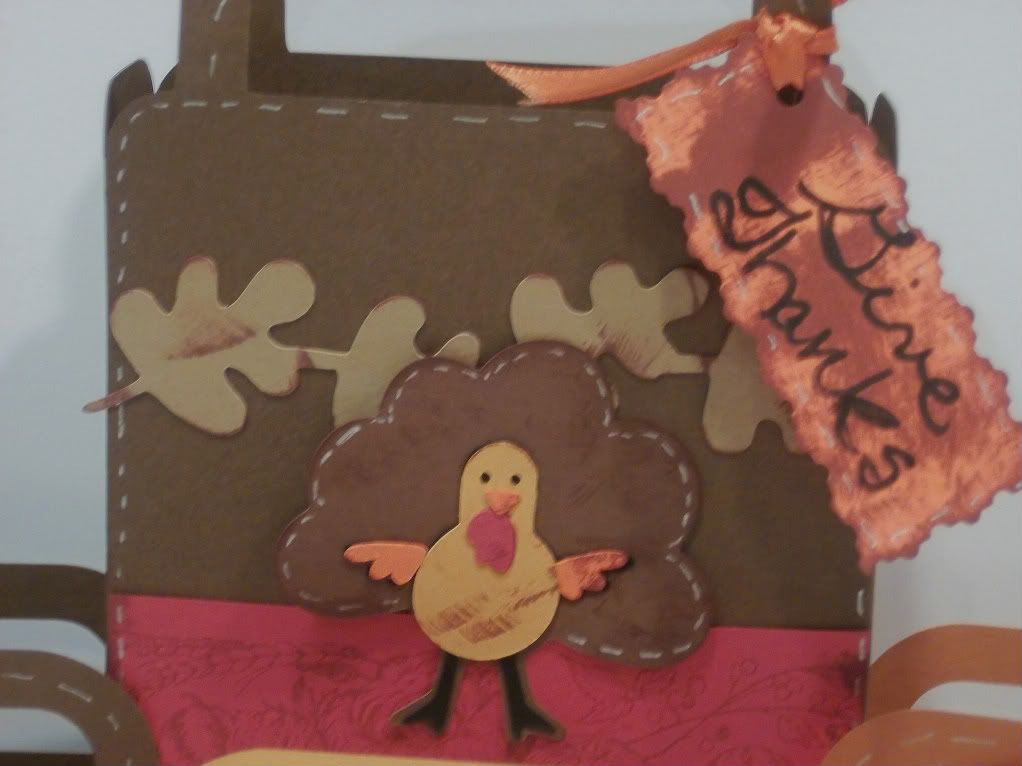
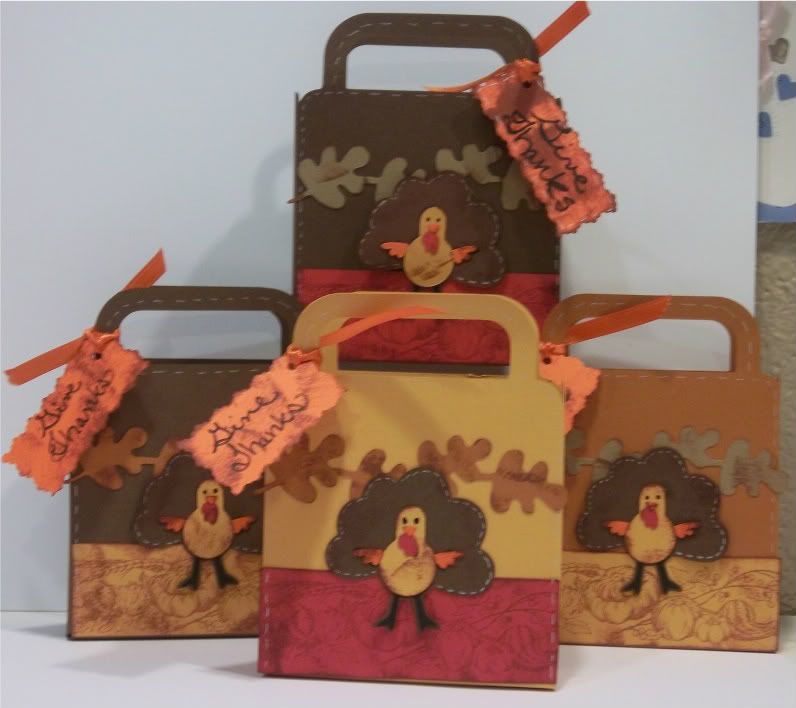
November Blog Hop Project Turkey Bags
Yesterday I choose to do a Blog Hop Project for Die Cut Divas, Fastabulous Cricut andMy Sheri Crafts. The project needed to be Thanks Giving Theme. I made some cute goodie bags for our family on Thanks Giving Day. We will fill the bags with some chocolates. My kids were so excited about them. My hope is that you will be inspired and enjoy them. The idea can be used for all the other holidays throughout the year, even birthdays or special occasions. Have fun with it.!!
Ingredients:
Plantin School Book Cricut Cartridge, Roly Poly Bag (6 in)
Simply Charmed Cricut Cartridge, Turkey 1 Shadow, Layer 1, Layer 2, Layer 3, (2in)
Give A Hoot Cricut Cartridge, Squirrel 1 Border (1in) for the leaves border
Cut a strip for bottom about 1 1/2 in and get it to fit on the wide part. Stamp it with a Fall themed stamp.
Cut small tag out of scrap cardstock (any size you like). I used decorative scissors. Make sure to distress the tag leaves, turkey and strip for bottom of bag with ink stamp pad. Any color will do.


Ingredients:
Plantin School Book Cricut Cartridge, Roly Poly Bag (6 in)
Simply Charmed Cricut Cartridge, Turkey 1 Shadow, Layer 1, Layer 2, Layer 3, (2in)
Give A Hoot Cricut Cartridge, Squirrel 1 Border (1in) for the leaves border
Cut a strip for bottom about 1 1/2 in and get it to fit on the wide part. Stamp it with a Fall themed stamp.
Cut small tag out of scrap cardstock (any size you like). I used decorative scissors. Make sure to distress the tag leaves, turkey and strip for bottom of bag with ink stamp pad. Any color will do.
Happy Creating!!
Blessings,
Carol
Monday, November 14, 2011
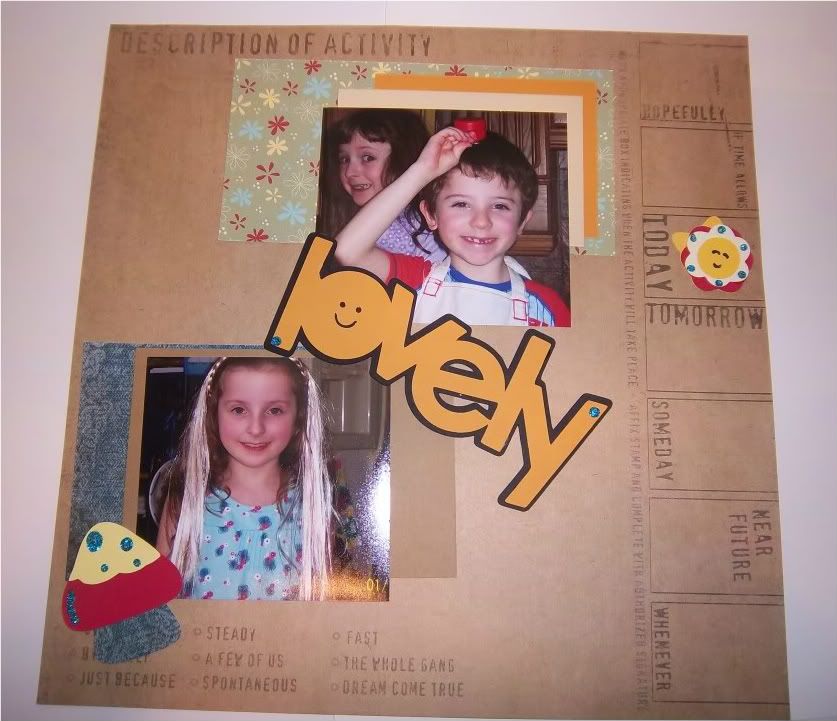
Simply Charmed Scrapbooking Page
Decided to enter my pages on a blog hop over at My Pink Stamper. Fun and easy Page. I used the Simply Charmed Cricut Cartridge. And of course my all time favorite Sparklie Paints. This project used several different mats. Using the paper out of my scraps for the mats. Sometimes simple is best.
Ingredients:
Simply Charmed Cricut Cartridge
Mushroom2 and Layer 2
Flower (any flower will do)
Sparklie Glue
Printed and Solid papers (Cardstock or Not)

Ingredients:
Simply Charmed Cricut Cartridge
Mushroom2 and Layer 2
Flower (any flower will do)
Sparklie Glue
Printed and Solid papers (Cardstock or Not)
Have fun with your pages
Blessings,
Carol
Subscribe to:
Posts (Atom)