Tuesday, May 31, 2011

12 X 12 Page Using Pooh and Friends Cricut Cartridge

Well it is Tuesday here in overcast Northern California. Wishing for some sunshine so our garden will just start growing well. Today's project is from a couple of years ago. I am two years behind in my albums, catching up currently. Anyways, I thought I would use my Pooh and Friends Cricut Cartridge. There are alot of cute garden type images perfect for the photos which are used.

Just cut 1 - 3 in Rabbit, 1 - 3 1/4 in Icon Rabbit Shift and Icon Rabbit for basket and apple. Cut 1 2 3/4 in Tigger Icon and Icon Shift for Vegetable Parts.

Super easy, cute and fun. Use your imagination and see what you will come up with. Hope your day is a happy one.


Blessings,
Carol

Friday, May 27, 2011

Blog Award!! Thank you

A few weeks back I received a wonderful new Blog Award called; Cricut - Tastic Award from Love That Bug blog. Just click on her blog name and you will just love the wonderful projects Stacy posts on her blog.

Just right click on the Blog Award Picture then copy it.


Now onto the rules: Your blog has been deemed Cricut'Tastic. Wear this badge proudly on your blog and share it with friends. Share this award with 10 people that you think have Cricut'Tastic Blogs. You also have to tell 5 cricut related things about yourself.

My Five Things Are;

1. I love to scrapbook and just be plain creative.

2. I am a homeschooling mom with 2 children, 2 more hopefully to arrive by the end of Summer.

3. My husband and I will be celebrating our 23rd wedding anniversary in less than two weeks.

4. Blogging is a blast!!

5. We truly enjoy visiting Disneyland as a family.


Now for the 10 creative blogs:

Tracy http://trace-elementz.blogspot.com/

Yolie http://www.justyolie.com/

Andi http://faithtrustandpatternedpaper.blogspot.com/

Shauna http://crafteeshe.blogspot.com/

Amber http://my3escrapbooking.blogspot.com/

Patty http://creativediva98.blogspot.com/

Ashley http://cricut-crazed-lady.blogspot.com/

Sheri http://myshericrafts.blogspot.com/

Renae http://memoriesbyrenaeb.blogspot.com/

Tina http://ollieanddextersmommy.blogspot.com/

Self Portrait Using simply Charmed Cricut Cartridge

Good afternoon everyone. I apologize for not posting any projects in a while. Next week my husband and I will be officially certified Foster Parents, and working on the adoption part now. We are so excited!! God has many wonderful things for us as a family. Looking foward to more precious children in our home.

Alright the projects are comming. School is out now and there is more time for fun stuff. I hope you enjoy my projects.


This 12 X 12 scrapbook page is created using the Simply Charmed Cartridge. Cut 1 - 3 in Sun 1, layer. I embossed the circle of the sun and used glitter glue for the the smile. Loved the glasses, they are super cute.

My daughter decided to take a self portrait. When I was downloading the photos all I could do was laugh. Those special moments is the life of our family. Enjoy this project and remember to think out of  box. Be creative!!


Blessings,
Carol


Tuesday, May 3, 2011

Pretty Dragonfly Wedding Card

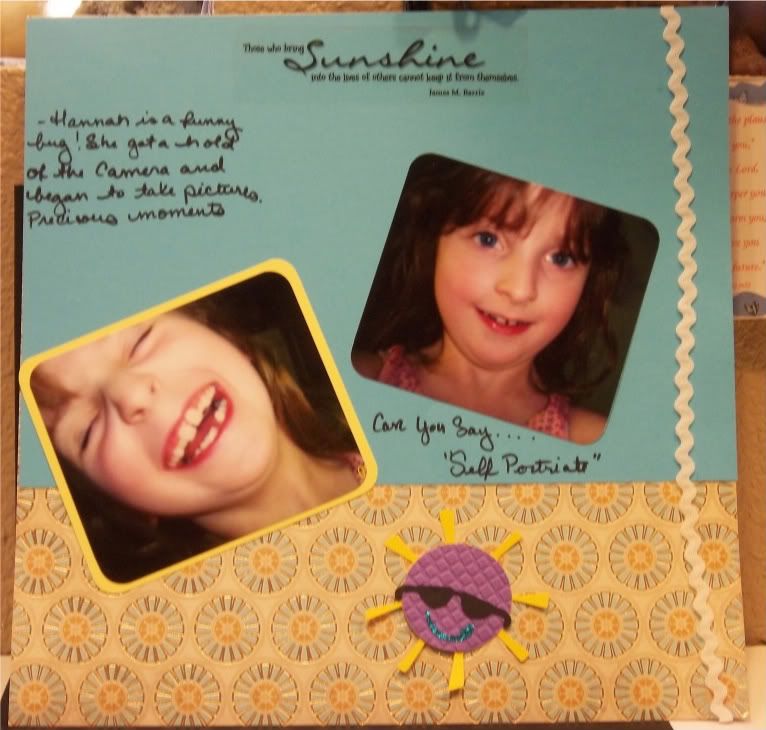
This is a bit late in the posting. But, you know better late than never. Last week we had alot of appointments to take care of for our foster to adoption process. We are almost done with our certification for the fostercare part. Keep praying for us please. We appreciate them so very much.

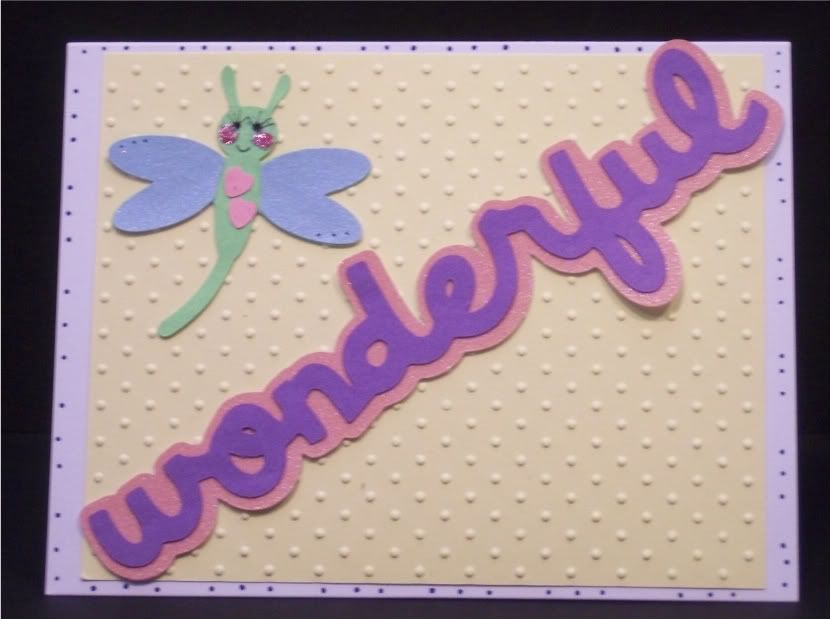
Cute card for our friends daughter who recently married. This time I used the Paisley Cricut Cartridge. There are alot of super fun images on this cartridge. Again, I must say my Cricut Expression Machine was the best gift my husband ever gave me. I am able to do so many fun and creative projects with it.


Supplies Needed;

Paisley Cricut Cartridge

Sparkly and Plain Cardstock

Sparklie Glue


Instructions;

Cut 1- 2 in Dragonfly, Shift, layer1 Shift. This gives you all the parts of the dragonfly. Cut 1- 1/2 in Mushroom 3 Word, Word Shadow Shift. This cuts out the word "Wonderful" and the shadow for the word.

Premade card 4.25 H 5 1/2 W. I have a package of premade cards that I used now and then.

Cut a piece of cardstock for a mat that is just a little smaller than the card. Emboss the mat.

Assemble all the pieces and place on the card as shown in the photo. Just add little eyes and mouth. Use the glitter glue for the little cheeks. With a pen add details around the edge of the card.


Cute and easy card. The dragonfly image is a really fun one. Remember think outside of the box when creating. You never know what will appear in your creations.


Enjoy,
Carol