Monday, February 28, 2011

Scrapbooking Room, "How I love Thee"

We all have our special little place in which the creative moments happen. Mine is very very small and chocked full of great things to work with. Several years back my husband (who is a contractor) put up all the great shelves in there. They are full as you can see. Not only is this my place, but my children are scrapbookers and crafters also. Boy am I blessed! I would love to see what your creative places look like. Make a post with a link to your photo or site. Have a wonderful day in your special creative place.

    Blessings,
Carol


Sunday, February 27, 2011

Tim Holtz Start To Finish 2011


Hello everyone, today is my posting of the Tim Holtz Start to Finish 2011. The technique which I used was layering stamped images, smashing brads, and painting grunge board. This fun Start to Finish challenge is good for me. Starting to learn some new techniques that I did not not know how to do before. It was fun!! Enjoy.


All you need to do is go toTim Holtz blog (click on the word blog) and on the left side scroll down until you see the 12 Days of Christmas tags. Click on 2007 and get started You can join in anytime. You do not have to make them Christmas themes. As you can see I am made this one with a different theme.


   Blessings,
Carol

Saturday, February 26, 2011

We All Like Flowers Don't We????

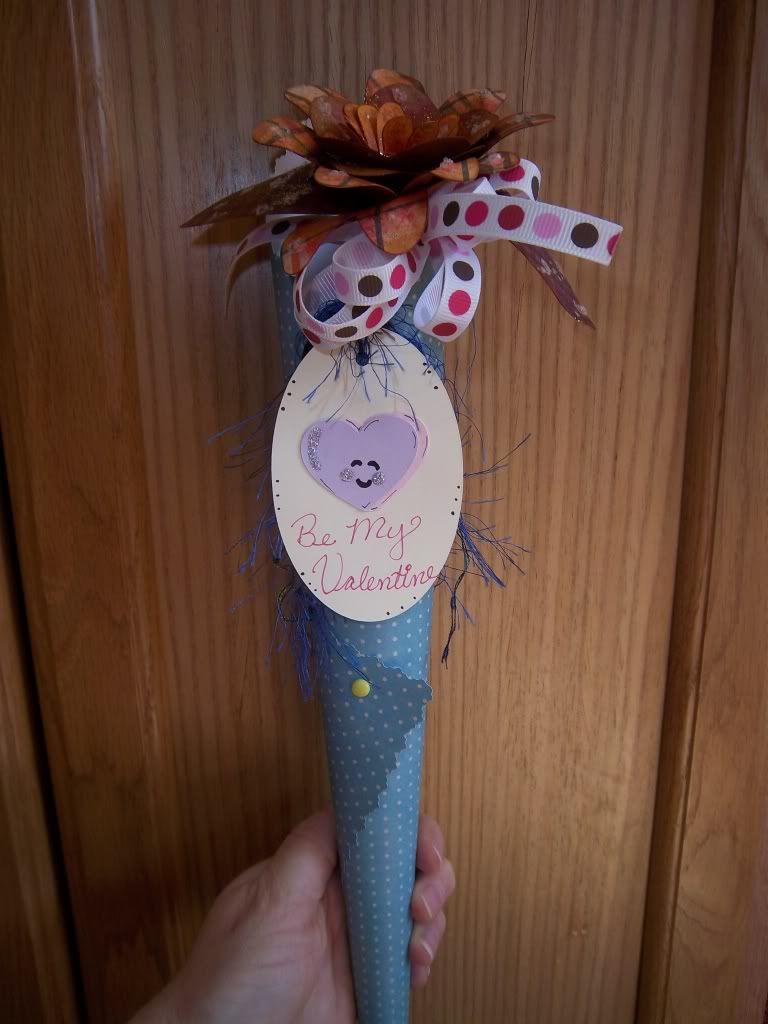
My precious daughter wanted me to make something pretty for her friends at Valentine's Day. She said; "Mama would you please make some pretty flowers?" So I got right to it and created a very fun paper flower bouquet.  You all should have seen the priceless looks on the girls faces when they were given these. Wish I would have had my camera with me. Next year I will.
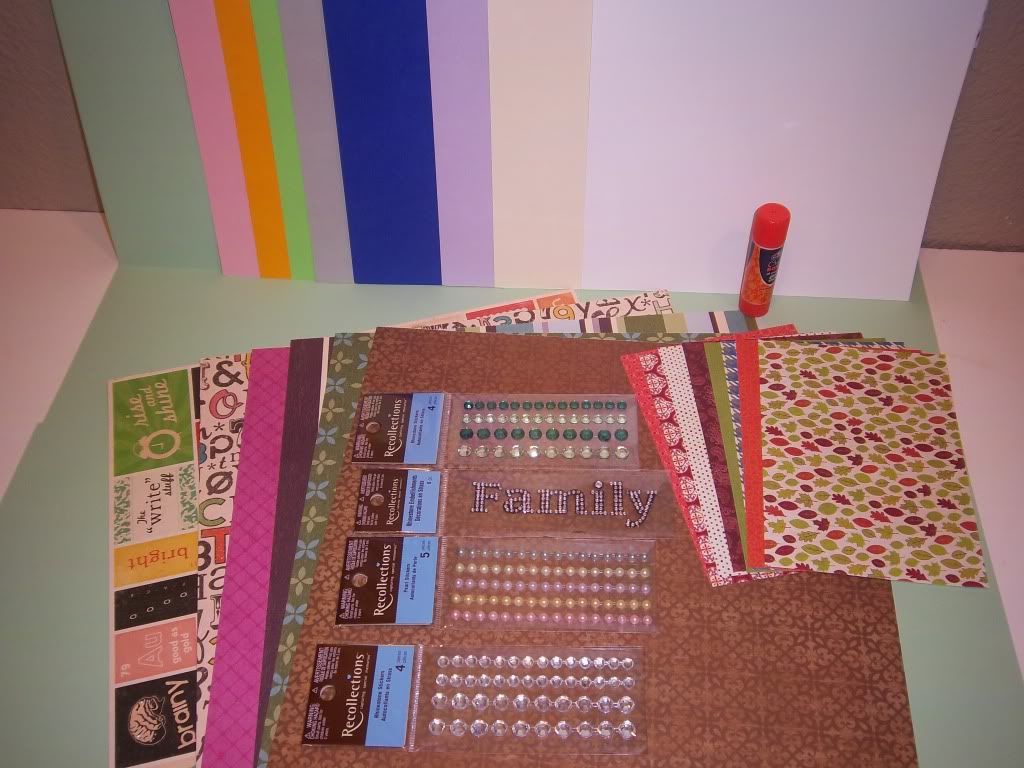


Supplies Needed;


Think outside of the box for this project. It could be used for all types of gift giving occasions. Plus, instead of flowers try using the a shape that is not a flower. You could attach the flat image to wire from the back.

Blessings,
Carol


Simply Charmed Cricut Cartridge

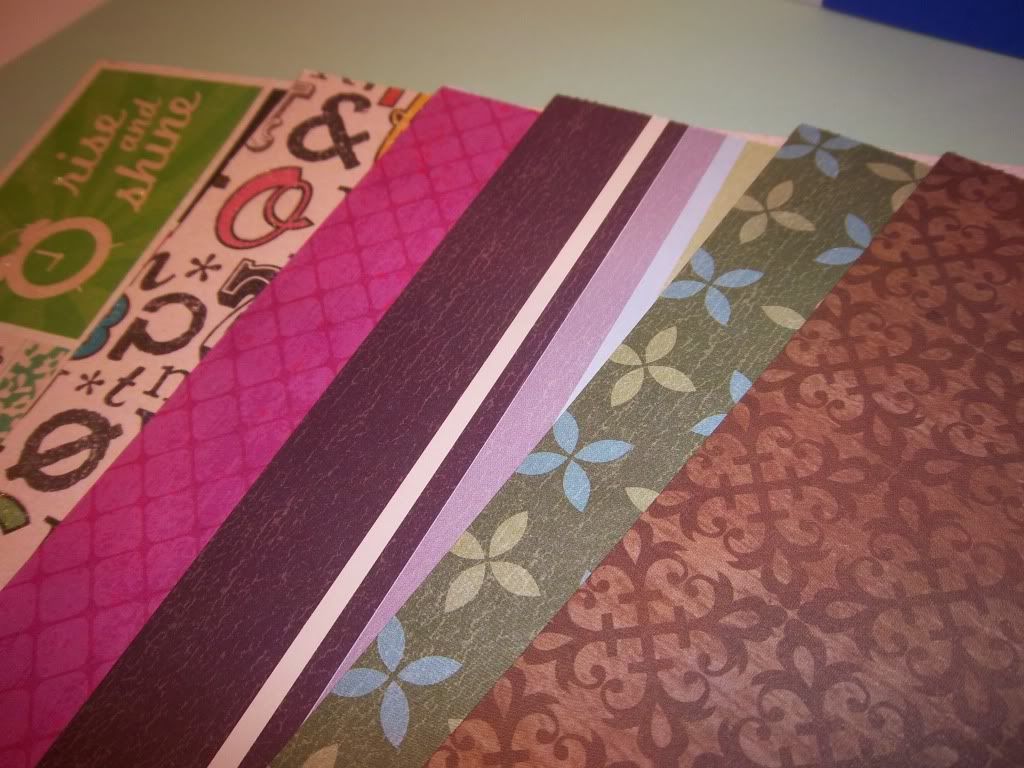
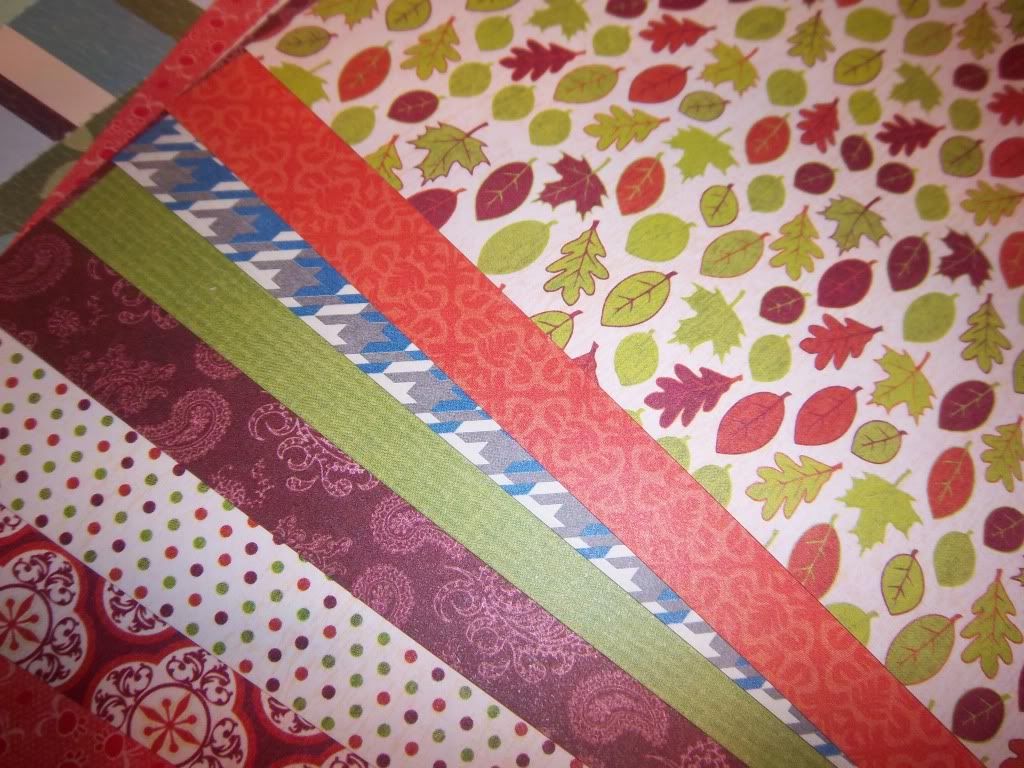
Solid Cardstock, Printed Paper (12 X 12)


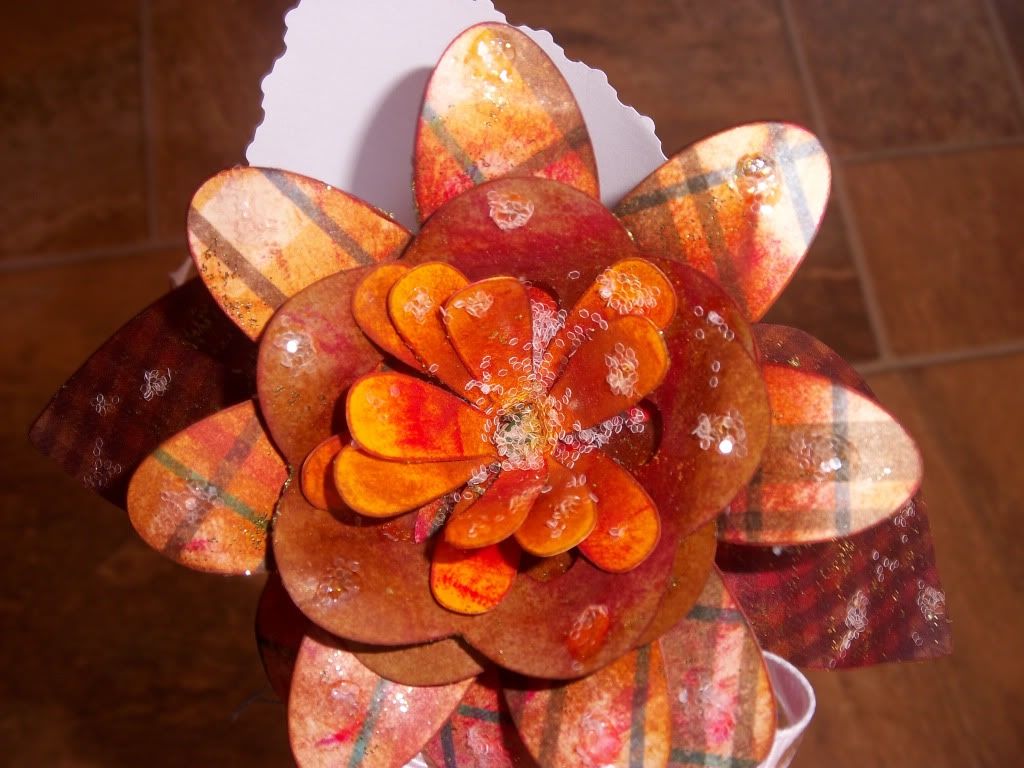
Just cut 1- 4in flower and 2- 3 in flowers from the Serenade.  Also cut 2- 2.5 in (Real Dial Size)leaves.
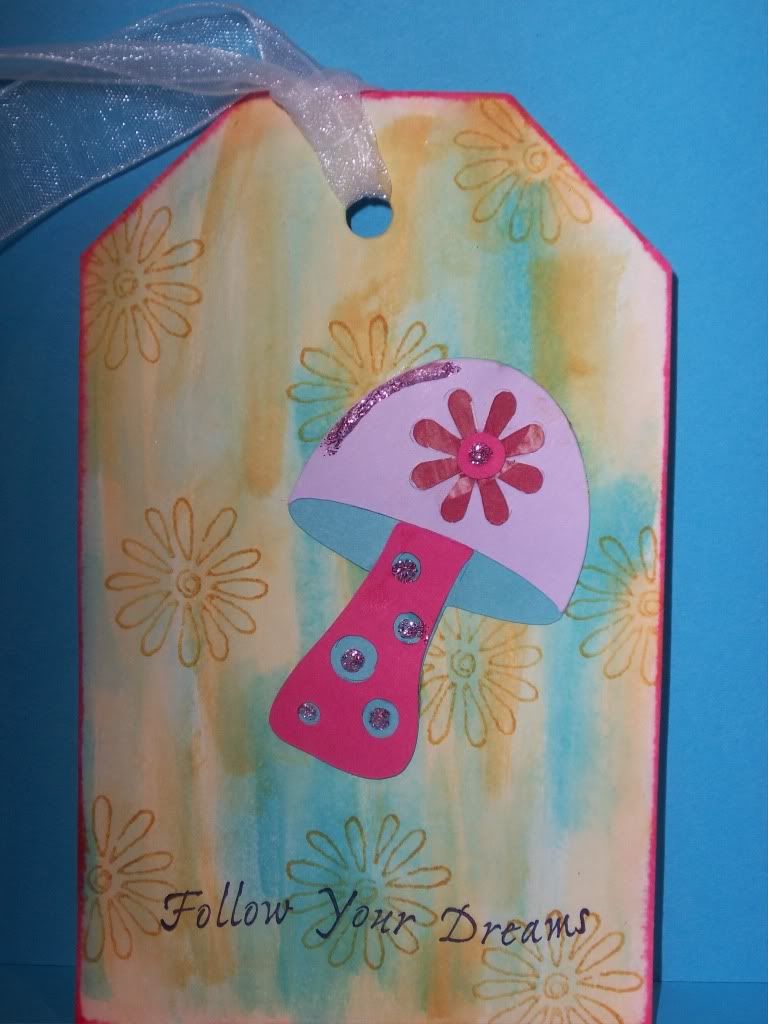
Winter Frolic boy1 (tag) 3 in, Simply Charmed Heart (layer 1) 1 1/4 in

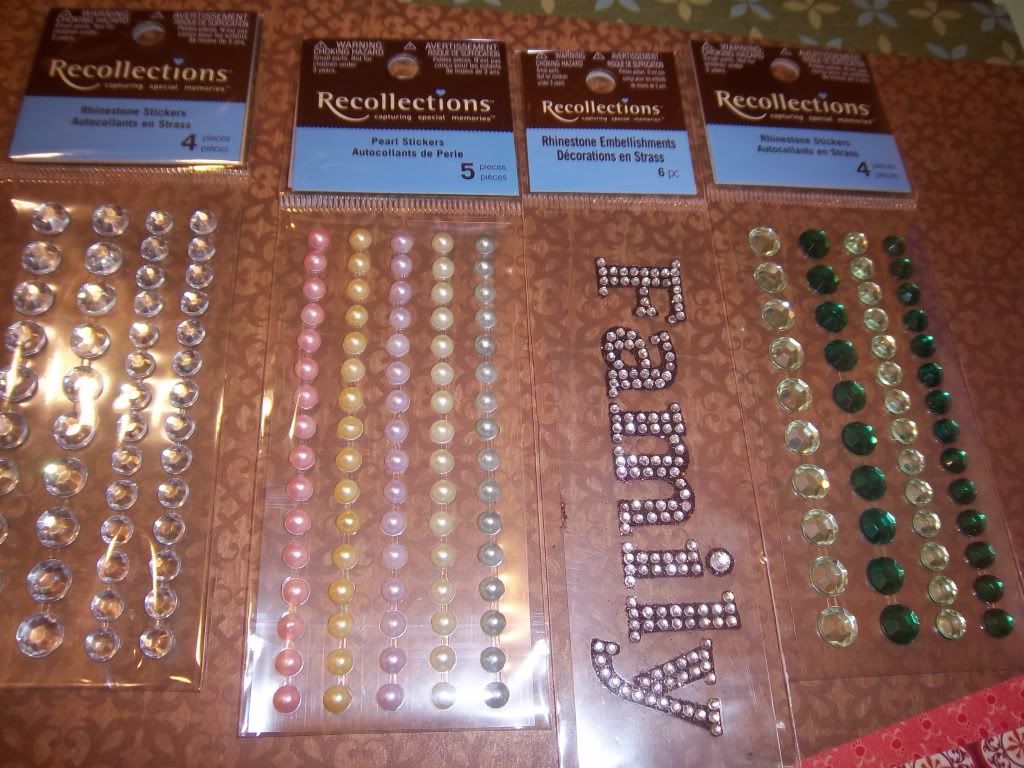
Destress the front and back of the leaves and flowers Use some sparklie glue and rub on back and front of flowers and leaves. Let dry.

Cut each flower from the outer edge to the middle. Roll up the each flower separately. It will look like a flat bottomed cone. Use a hot glue gun to place a few dots of glue on the bottom parts of the flower petal to make it stick. Be sure to snip a little off the bottom of each flower so you can push the wire through all three flowers. Now glue each flower into each other and you will get the layered look in the photo below.


Push a doubled 22 gauge floral wire through all three flowers, leaving a hooked end in the middle of the flowers. This creates the main stem. Wrap the stem with floral tape.

For the leaves, cut only part way from the rounded edge not the pointier edge. Over lap the cut piece and it gives the leaves a curved look. Punch small hole in leaves, stick floral wire through and wind together, wrap with floral wire. Attach the leaves to the main flower stem, along with a small bow. Add some more glue and glitter.

For the cone, just use a 12X12 printed scrapbooking paper. Cut edges with decorative scissors. Use brad to hold cone together.
Attach the tag after you have all parts put together.

Thursday, February 24, 2011

Stylish and Liebster Blog Awards

With the Stylish Blog Award given to me by Patty over at Creative Diva I need to pass this on to 5 other bloggers and list 5 things about myself. I listed the 5 things about myself and now I am going to pass this on to others. I must say it was hard to choose for there are so many. Be blessed and pass this on. Just right click on the award, save in a file, then download onto a program like photo bucket.

With the Leiber Award given to me by Deborah at Scrappy Beads I need to pass this on to 5 other bloggers.

Make sure to visit these very creative bloggers;


Ellen http://cardmonkey-business.blogspot.com/

Ashley http://cricut-crazed-lady.blogspot.com/

Glenda Joy http://glendie.blogspot.com/

Andi http://faithtrustandpatternedpaper.blogspot.com/

Jo  http://jo21236.blogspot.com/


Leibster Award

Anne http://anne-madebyanne.blogspot.com/

Wendy http://www.myscrapbookingblog.com/

Shauna http://crafteeshe.blogspot.com/

I am doing the Happy Dance!!

I figured out how to upload the image one day late but so happy. First I want to say and "Very" Heartfelt Thank You to Deborah from Scrappy Beads and Patty from Creative Diva. (Just put your mouse over their  blog name and a link to their site will come up.) Yesterday and today I have received the Great Blessing of  receiving the Stylish Blogger Award!!!!! Ladies you both "Rock"!. Your sites are a wonderful place to visit and get super duper ideas and encouragement in the creative arena. Please everyone stop by their sites.

Some new things about me;

1. I have been married for almost 23 years to a wonderful man.
2. The last five years I have been homeschooling me children.
3. My husband and I have 3 children, one in heaven and two here with us.
4. The Grace and Mercy of the Lord is New Everyday.
5. I am so extremely blessed to be making new friends in the Creative Community by Blogging.

Unique Sympathy Card

Several months ago, we had friends who lost their newborn son. I wanted to create a card which showed them how much they are loved. Using the Cricut Serenade cartridge, which was the perfect choice in this creation. On the leaves scripture was written. That way our friends could look up the scripture in their own time. On the back of the card (sorry did not take a photo) I stamped hand made for you.

Enjoy this very pretty and simple card.

Supplies Needed;

Cricut Cartridge Serenade

Cardstock

Blade 5 or 6, Speed Low or Med, Pressure High


Cut 1- 2.5 in branch, 2- 2 in leaves (Real Dial Size), 1-3 in set of leaves, 1- 1 in bird, 1- 1 in bird shift.

I free hand drew the trunk of the tree. Just add details with a black pen where you want.


Blessings,
Carol

Tuesday, February 22, 2011

Photos of my 30 Follower Give Away

As I promised here are the photos of what I am giving away when my blog hits 30 followers. As my blog grows with followers I will continue to add goodies to my Give Aways and more often. My hope is that you all are being inspired and enjoying the fun and creative ideas here at my blog.

Blessings,
Carol

Items Include;

DSWV, Colorbok and Recollections Papers 12 X 12 and 11 X 8.5 and 4.5 X 6.5 Sizes

Recollections Rhinestones, Pearls, and word Family

Elmers Acid Free Craft Stick


Oh! These papers are soooo pretty!!

I like the to have the small mat stacks on hand for small die cuts or placing a photo on top.


Ahhhh!! Sparklie gems are becoming a favorite in my stash.


I am so very excited to send this to one of my much appreciated followers. Your all a blessing in my book.


Monday, February 21, 2011

Getting Closer to 30 Followers

Hi everyone, I am so blessed to have you all following my blog. 30 is the magic number for me. When my blog hits 30 people following I will give away some super fun scrapbooking and craft goodies. Tell your friends about my blog. Tomorrow will be the day the photos of the yummy goodies will be posted. See you all tomorrow.

Remember think outside of the box. You never know what you can create.

Blessings,
Carol

Sunday, February 20, 2011

Tim Holtz December Tags From Start To Finish for 2011

Hi everyone. A new follower "Inkin' It Up" (click on the link follower) is doing this challenge and I thought it would be fun. Here is the link to Tim Holtz site.  On the left hand side of his blog you will see categories and then choose the current 12 Tags of Christmas we are working on. All the directions for each day are within the listing. We are currently on Dec 2007 Day 8. You do not have to do a Christmas theme. Create a project, scrapbooking page, tag, card ect. Just use at least one technique that Tim is using in the example for the specific day. I will be posting my creation on Sunday's. If you have any questions, please just email me. Have your beautiful project ready by before the following Sunday. Make sure to put your blog address on your comment. That way the rest of us can visit your blog to see the project.

This should be fun. Looking forward to seeing your beautiful projects!!

Blessings,
Carol


Here is my Project.


Cricut Cartridge; Paisley & Winter Frolic

Cut 1- 3 in Girl 4 (tag) Winter frolic

Cut 1- 1 1/4 in  mushroom 4 (shift), mushroom (layer), Mushroom layer 1 (shift layer 2).


I used a water filled craft brush to dip it in stamping ink and paint the color ink on the tag. Used my embossing gun to make the ink dry faster. Enjoy!!


Saturday, February 19, 2011

Flowered Shabby Chic Card


I thought I would try a shabby chic style. This is my first attempt. I am trying to incorporate more inks in my creations. There are so many inks in my scrapbooking room that have not been used enough. So, my challenge for you all is to start using the items in your stash that have been sitting for sometime.

The Cricut Cartridge is From The Nest. One of the new ones that arrived recently. Super happy that I chose to order this one. It has so many really neat images. 


Supplies Needed;

Cardstock

Stamping Ink

Rub On Saying

Eyelets

Cricut Cartridge; From The Nest


Start with cutting the following; Cut 1- 2 in flower 4,  1- 2 in flower 4 (shift), 1 -2 in flower 4 (layer), 1- 2in flower 5, 1- 2 in flower 5 (shift), 1- 2in flower 5 (layer).


Make sure to ink all the pieces before you put them together on the card. Use inks that will complement your papers.


Put all the flowers together and punch a hole for the eyelet.  Then rub the lettering phrase onto the card.


Think outside of the box!! Have fun with it.

Blessings,
Carol

Wednesday, February 16, 2011

Spring Card, Using Freshly Picked Cricut Cartridge

Here is another card I did today for the Creating Keepsakes Community challenge. Yes, this is one of my new cartridges from cricut machine.com. Love those those deals when I can find them. Wahoo!! This card I am going to save and give to someone who has a birthday coming up.


Supplies Needed;

Cricut Cartridge Freshly Picked

Printed Paper, Cardstock

Gems

Chalks

Clear Glue, Adhesive Squares

Cricut Cutting Machine

Blade 5, Pressure med or high, Speed low or med


Cut the following with your Cricut Cutting Machine.

Cut 1- 2 in hat 1, cut 1- 2 hat 1 shift, cut 1- 2 in hat 1 layers, cut 1- 2 in hat 1 layers shift, cut 1- 2 in hat 1 layers 2.

Cut 1- 1 1/2 in word bloom flower 6, and cut 1- 1 1/2 in word bloom flower 6.

Assemble the hat with all the pieces and then chalk specific areas of the hat that you would like. Chalk around the entire edges of the mat and card. Assemble the the word bloom then glue to a mat. I used my decorative corner rounder for the four corners.

The mat for the card base is a piece that I did not measure. I just eyed it.

Add gems where the photo shows.

I loved the colors and the gems. May have to purchase more gems, they add a bit of fun sparkle.


Christmas Card, Winter Frolic Cricut Cartridge, Angel Boy

Yes, I know that Christmas is past but, I just ordered this one and wanted to try it out for a Creating Keepsakes Community challenge. All I can say is that I totally love it!! Having several layers is awesome. My collection for the last year and a half were just 5 cartridges. Could not afford many. But, then Custom Crops and Cricutmachine.com had a super deal on them. Ended up spending almost $200 for 10 carts. Actually that is a very good deal. Enjoy this Card!


Supplies Needed;

Cricut Cartridge Winter Frolic

Cardstock, Printed Paper

Clear Glue

Merry Christmas Stamp

Button, Foam dot or square

Cream Chalks and Stamping Ink

Cricut Cutting Machine

Speed low or med

Blade 5 or 6

Pressure high


With your Cricut Cutting Machine Cut the following

1- 3 in Angel 2, 1- 3 in Angel 2 shift, 1- 3 inch Angel 2- 3 in (for hair), 1- 3 in angel 2 layer shift, 1- 3 in Angel 2 layer (for clothes).

Put the Angel together then place on solid card stock that has cream chalking and ink around the edge.

Cut a printed paper strip 3 1/2 X 6, use decorative scissors to cut top and bottom. Put on card.

Use your Merry Christmas Stamp and attach button with stick dot or foam square.

I then used my finger to run cream chalk around the edge of the card.

This was a fun card to make. Enjoy


Happy Creating and Think Out of the Box!!

Blessings,
Carol

Monday, February 14, 2011

Happy Valentines Day!!

I hope you have a wonderful day with the person you love. My husband and I are going out to eat for dinner while our church watches our kids. In fact the kids get yummy food, fun games and great fellowship with their friends.

Blessings,
Carol

Wednesday, February 9, 2011

Birthday Invitation

This is a very cute card! Thought I would use some of my extra scraps to create something fun and easy. I used my Cuttin Up cartridge and Doodle Charms. All the cute colored sprinkles on the cupcake are done with my different colored pens. Just choose the images you want and go for it. Think outside of the box and choose some other types of images. Enjoy.


Happy Creating!!

Blessings,
Carol


Changed My Button

I wanted a button that was better. Designed this one and I like it. Turned out just fine. Keep your eyes open later today for I will be posting several projects. Fun, Fun, Fun!!!

Also, I just wanted to say "Thank You" to those who are now following my blog. I appreciate it much.

Blessings,
Carol

Friday, February 4, 2011

Contest Coming Soon!!

Hi there everyone!! When I get  30 followers on my blog site, FREE Scrapbooking and Craft items will be given away to one of my followers. As the amount of followers grow more FREE Give Aways will happen several times a month. Yes, the images of what will be given away will be posted in lovely photos. My hope is that you all will continue to enjoy the fun and creative ideas that are on my blog. Tell your friends about me.

Blessings,
Carol

Valentines Day Card

I thought this card was a fun one to make. I used an SVG image and lettering from the internet. The bees are fun images. They have a child like look to them.


Supplies Needed;

Sure Cuts Alot

Cricut Machine

Solid and Printed Card stock

Clear Glue and Black Pen


Cut out 2- 2 inch bees, Lettering 2 in bold, 1- 2 1/4 inch strip for  top of card.

After the lettering is cut out, glue them onto a small mat that fits just right for each word. Glue everything to the card add accents with black pen.


Have fun with this, use your imagination and other images including wording to fit your specific likes.

Blessings,
Carol

Wednesday, February 2, 2011

Button For My Site

Wahoo!! Just figured out how to get my button on my site. Yes, it is simple and creative just like me. Hope you will grab it.

Blessings,
Carol

Background is Finally Fixed!!

Yep, completely figured this out. If anyone should have questions on how to change your background and make banners, Just let me know.

Blessings,
Carol

Well, changed my background again

I had problems with the pretty background so I had to revert to this one. Still new at this decorating my blog thing. That's alright though. Soon I will get it right.

Blessings,
Carol

Tuesday, February 1, 2011

Birthday Card

Hi everyone, good day to you all. I have had two days to do many changes on my blog and post things. That is what happens when you have two sick children with colds and our homeschool day is modified. So, here is a cute birthday invitation. Mix the colors up, cut a different shape instead of the cupcake, Use different words. Enjoy!!


Supplies Needed;

Cricut Cartridge - Cuttin Up

Plain Cardstock

Printed Paper

Markers, Clear Glue

Blade 6, Speed Med or Low


First cut  1- 2 3/4 in "Your So Invited", 1- Cup Cake (Real Dial Size), 1- 3/4 in and 1-1/2 in heart. Remember you what you would like best.

Cut 1 piece printed paper 6 in wide X 4 1/2 in high, then use decorative scissors to cut around all four edges.

I made my own card 6 1/2 in wide X 5 in high when folded.

Add decorative accents with your colored pen.

Glue everything to the card. Presto, you have a cute card.


Happy Creative Day!!

Blessings,
Carol