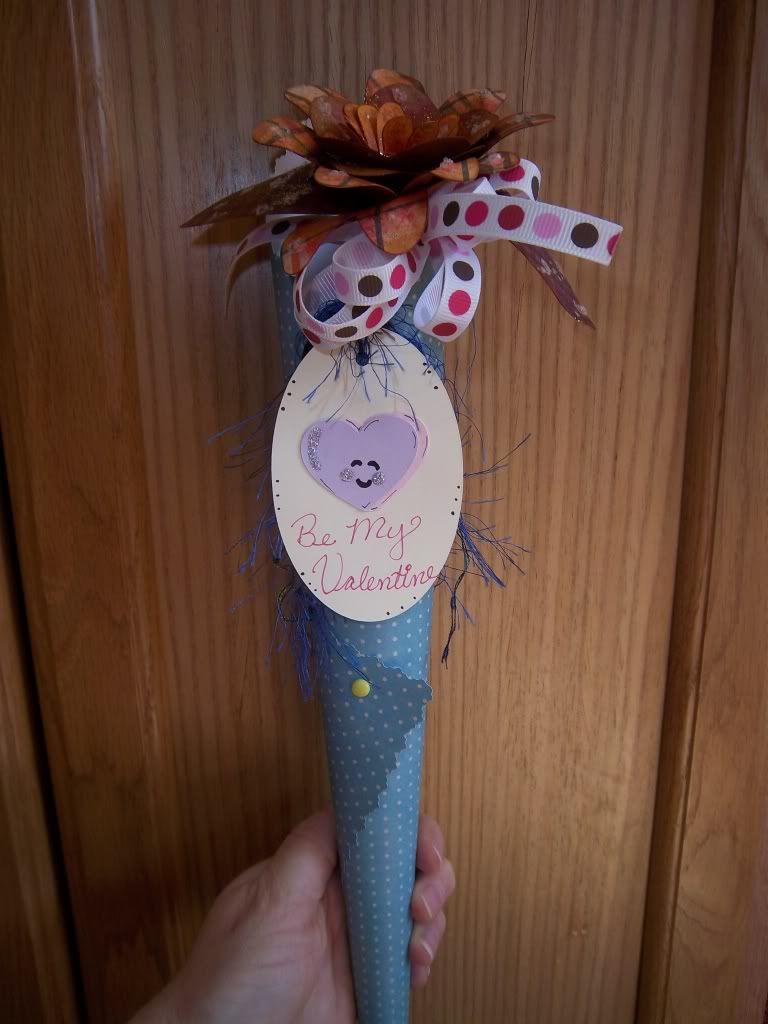
My precious daughter wanted me to make something pretty for her friends at Valentine's Day. She said; "Mama would you please make some pretty flowers?" So I got right to it and created a very fun paper flower bouquet. You all should have seen the priceless looks on the girls faces when they were given these. Wish I would have had my camera with me. Next year I will.
Supplies Needed;
Think outside of the box for this project. It could be used for all types of gift giving occasions. Plus, instead of flowers try using the a shape that is not a flower. You could attach the flat image to wire from the back.
Blessings,
Carol
Simply Charmed Cricut Cartridge
Solid Cardstock, Printed Paper (12 X 12)
Just cut 1- 4in flower and 2- 3 in flowers from the Serenade. Also cut 2- 2.5 in (Real Dial Size)leaves.
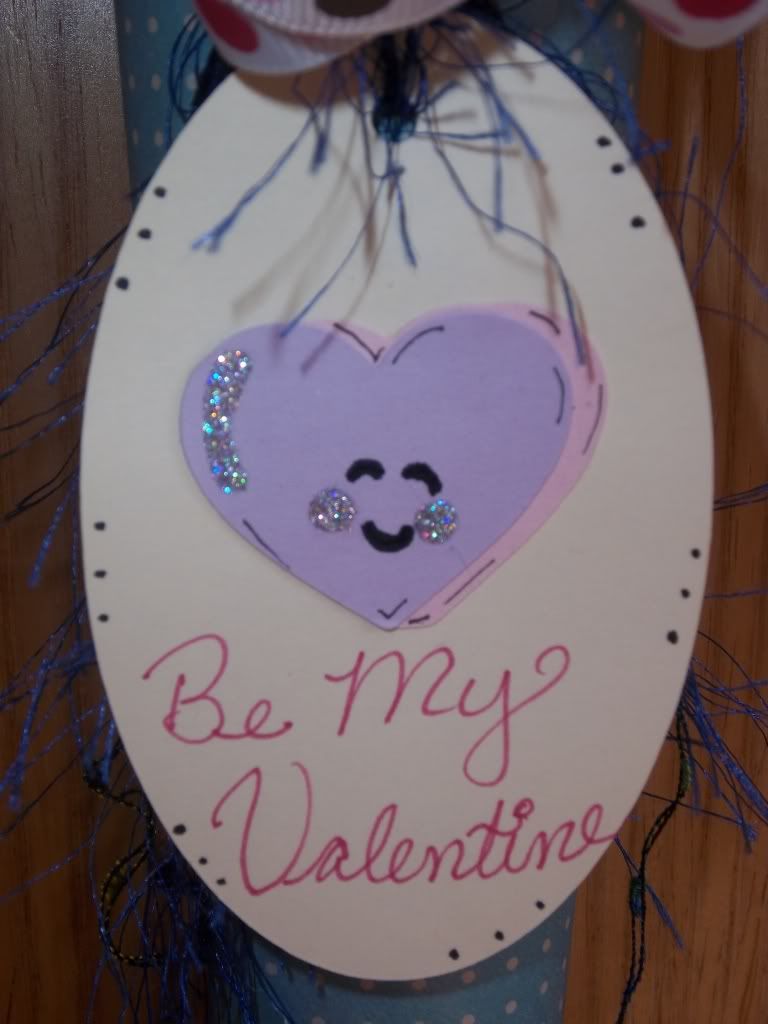
Winter Frolic boy1 (tag) 3 in, Simply Charmed Heart (layer 1) 1 1/4 in
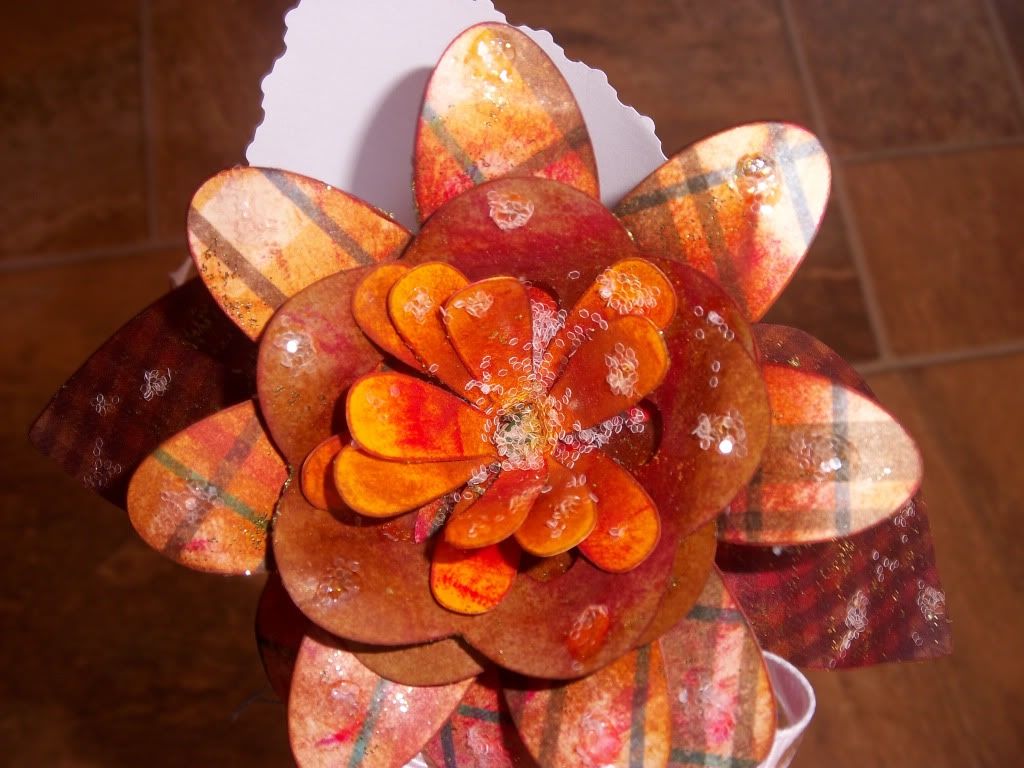
Destress the front and back of the leaves and flowers Use some sparklie glue and rub on back and front of flowers and leaves. Let dry.
Cut each flower from the outer edge to the middle. Roll up the each flower separately. It will look like a flat bottomed cone. Use a hot glue gun to place a few dots of glue on the bottom parts of the flower petal to make it stick. Be sure to snip a little off the bottom of each flower so you can push the wire through all three flowers. Now glue each flower into each other and you will get the layered look in the photo below.
Push a doubled 22 gauge floral wire through all three flowers, leaving a hooked end in the middle of the flowers. This creates the main stem. Wrap the stem with floral tape.
For the leaves, cut only part way from the rounded edge not the pointier edge. Over lap the cut piece and it gives the leaves a curved look. Punch small hole in leaves, stick floral wire through and wind together, wrap with floral wire. Attach the leaves to the main flower stem, along with a small bow. Add some more glue and glitter.
For the cone, just use a 12X12 printed scrapbooking paper. Cut edges with decorative scissors. Use brad to hold cone together.
Attach the tag after you have all parts put together.


No comments:
Post a Comment
I really appreciate your comments. Love to hear what you have to say. Thanks for stopping by and visiting. Happy Creating!!
Blessings,
Carol